How can I get My Diamonds Painting Art to look perfect?
Wrinkling can sometimes occur where the canvas has been packed in a roll. The postman is not always as careful as he should be!
Before you make a start on your new color by Diamonds, you should ensure your canvas is wrinkle-free. If you need to remove any wrinkles from your canvas, you have 2 options.
FLAT IRONING (best option)
Your paint by Diamonds canvas is a high-quality material. Just like clothing, canvases are made from cotton and linen and they can be ironed. You need to be careful not to set the iron on a high heat though – keep it on a mid-range heat setting. You should lay your personalized paint by Diamonds face down onto a thick towel and mist the back of the canvas lightly with water from a fine spray bottle. You just need to dampen the fabric rather than soak it. Gently iron over the surface, keeping the iron moving, and your canvas will be wrinkle-free within seconds.
STRETCH AND ROLL
If you are a bit nervous about ironing your easy canvas paintings, then you can try stretching and rolling the wrinkles out. You can do this by placing your canvas face down onto a clean flat surface and mist the back of the canvas lightly with water. Gently start to stretch the canvas out to remove the wrinkles by hand, or roll them out by using a clean rolling pin to roll the canvas flat, applying a gentle pressure as you go. As the canvas dries out, the wrinkles should disappear.
Paint By Diamonds “Tips & Tricks”
Are you a paint by Diamonds newbie? Are you lost and looking for some directions? Don’t worry, in this article, we will share with you some tips and techniques that will help you make your masterpiece.
To help you paint without any problems, here are some pro tips you should follow before you start painting by Diamonds,
1- Combat static cling with Static Guard Fabric Spray:
Are your diamonds relentlessly clinging together? Grab a can of Static Guard Fabric Spray and blast a small amount onto your diamonds.

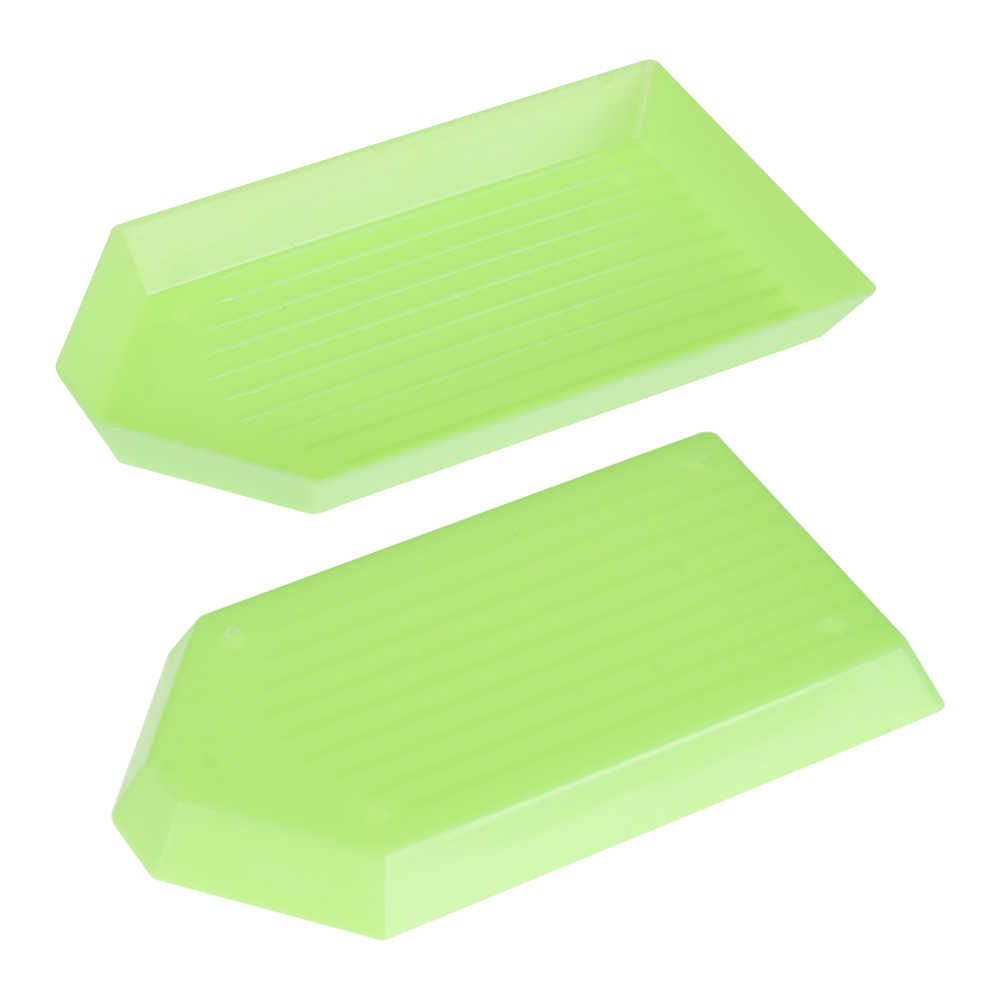
2- Break up diamond clumps using 2 trays:
No need for surgery to separate diamonds that are melded together! Just use two diamond trays you have lying around. Place one on top of the other and press down – you’ll hear a satisfying “POP” when they separate.
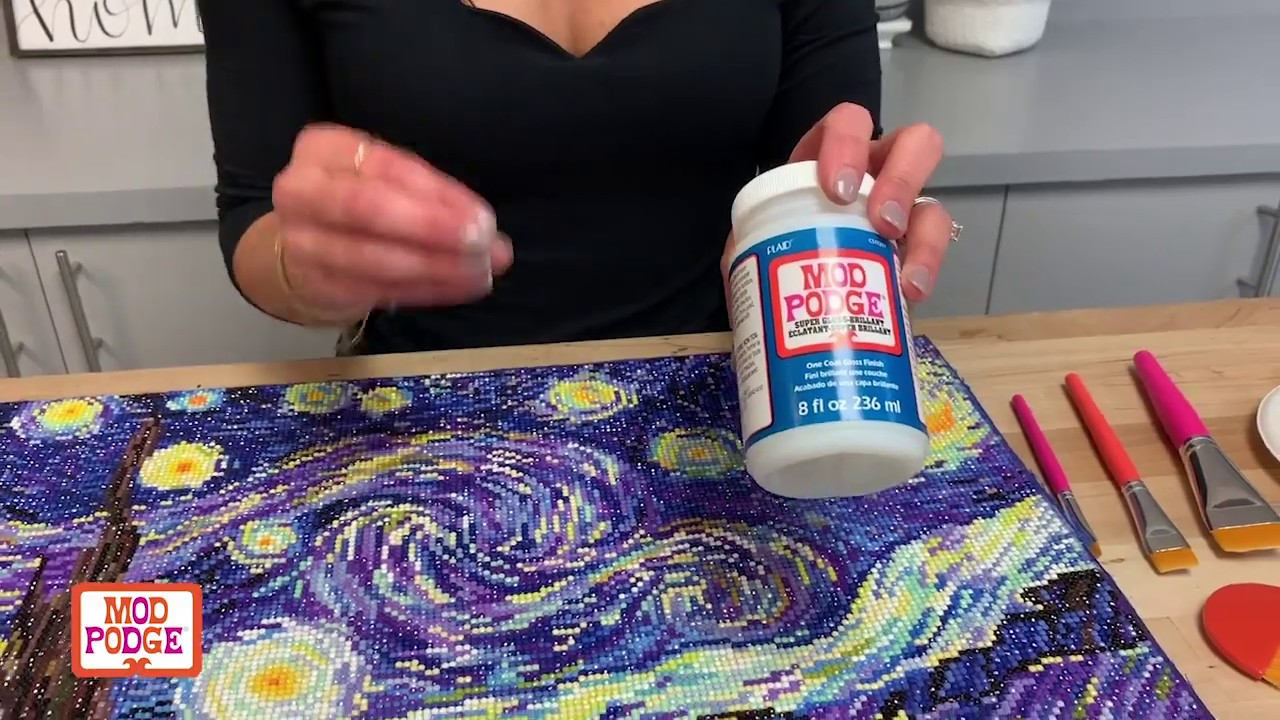
3- Increase the longevity of your finished canvas by sealing it:
After you’re done with your diamond painting (congrats!), you’ll want to keep it looking as gorgeous as the day you finished it. Grab some Mod Podge and apply a coating to lock your diamonds in place and keep your painting pristine for years to come.
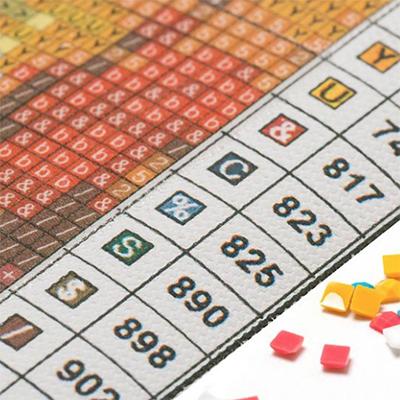
4- Use nail polish remover to remove the legend before framing:
Have you ever framed a painting and can’t help but notice the DMC grid peeking out of the side of the mat or frame? They won’t notice it, but it will bother you forever! it is suggested using nail polish remover or acetone on a cotton pad to remove the diamond legend and other writing before framing.
5- Use the “Checkerboard Method” for large areas with the same color:
Going crazy over large areas with the same color? Mix things up by using what we call the “Checkerboard Method.”
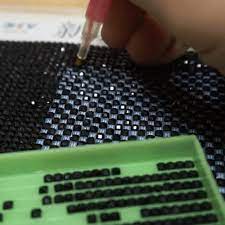
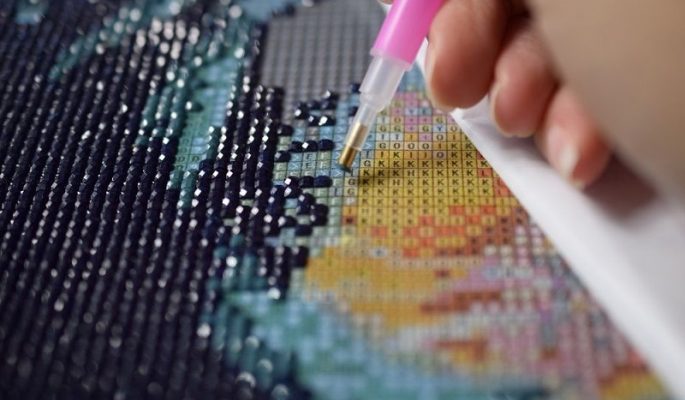
6- Adhere Diamonds Next to Their Symbol on The Canvas:
A little bit of prep work goes a long way when starting your project. Take a few minutes to glue or tape your diamonds next to their canvas symbol. Voila! You have a 3D code! This way, you can quickly reference the specific diamonds you need in a single glance.

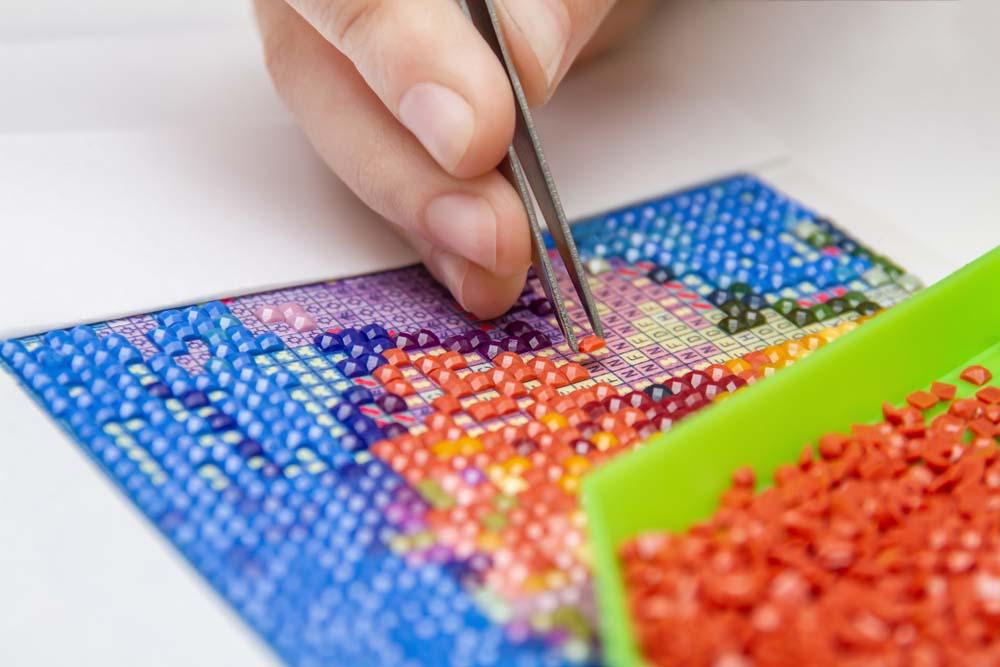
7- Find Wax Alternatives Like Putty:
Try to find options that can easily pick up the drills, such as Putty, Playdough or tweezers. If you have some of these lying around the house, it makes for a wonderful replacement for regular diamond painting wax. But, we recommend always keeping some on hand in case your wax runs out unexpectedly.
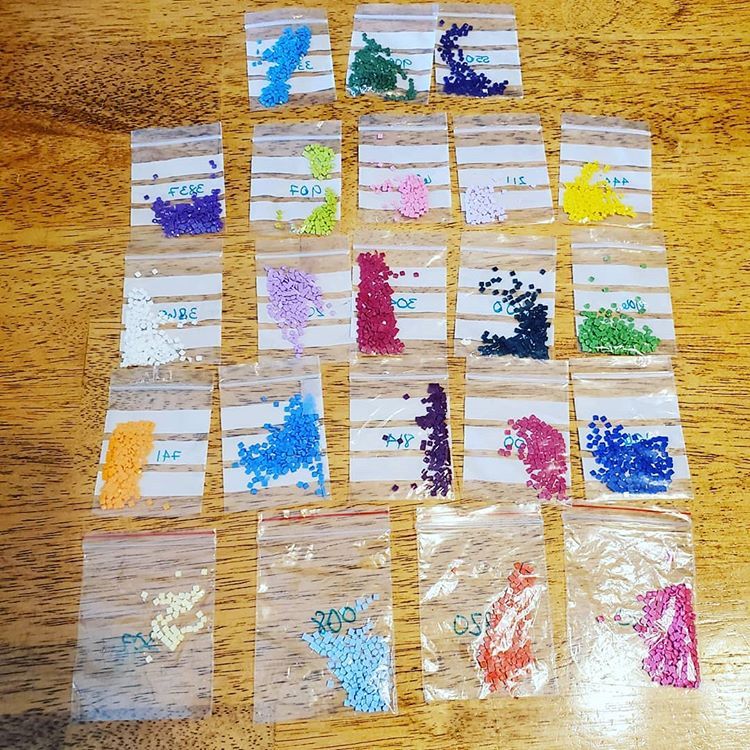
8- Store Extra Diamond Drills for Future Projects:
It’s always a good idea to hang on to your extra materials even if you’re not sure what to do with them. Invest in a craft organizer and store extra drills, wax and other accessories. You never know when you might need them.
So, just take it easy and follow the rules, and let our paint by Diamonds kit unchain the artist in you. Sharing your work when done on social media is recommended.
NOW YOU’RE READY TO TURN YOUR PHOTO INTO PAINT BY DIAMONDS!
If you have a custom photo and you want to create your own custom paint by Diamonds, you can simply click the button below to upload the picture you want.